Thursday, March 14, 2013

Tentacle Monsters Galore!

The newest most note worthy project to date has me swimming in tentacles. Yay!
I was trying to come up with an awesome birthday present for a friend. I was failing not able to think of a single thing. All of a sudden inspiration hit! And boy did it ever.......
 Stuffed tentacle monster!
 Now what if that tentacle monster had a pocket, even better right?
And what if the Tentacle monster was a backpack that could ride around on your back?
Pretty awesome right. Now I want one too. Along with the inspiration came a frenzy of energy to create. So that's what I have been doing. I want one too so I made mine first, got to get the design right before I can make one to give away. (That's my excuse and I'm sticking to it.)

The first tentacle monster turned out well, all be it a little under stuffed. I named him Sir Galahad Tentaclies (Gally or Tentaclies for short, I switch back and forth between the two nicknames)
He is so expressive. Look how happy he is. I think I'm going to add more horns. The pocket is in the underside and 4 of the tentacles have back pack clips attached so the tentacles wrap around you and he sits on your back.
He is so awesome, that I know that more people will want these.
So I decided that I am going to start manufacturing them for sale. I'm not sure how I am going to go about this quite yet but I figure I will start getting a stock going and then maybe sell them at my local conventions next year then maybe think of branching out and making an online store or something.
I think I am also going to start making other things to sell like furry leg warmers, and ears and tails maybe fuzzy dice bags. We will see.
 In the flurry of creative inspired energy I went through all my fabric and stuff to see what I can make just from what I already have and like most people who sew, I have quite a stock of fabric hoarded. This will be just the perfect thing to use up some of that stock.
After I finished Gally. I then made the Present that inspired this whole venture
Happy Birthday Jordan!

He has named him Dax
These things are so much fun I keep finding them posed all over the house. (Sometimes I'm the culprit too)


.

Im now working on the next one. Its unbelievably soft.
It still needs eyes and horns...
And of course there are still more coming. I'm going to make another one as a birthday present for Dezzy. And I have about 5 cut out that are going to be for sale.
I've decided to call my textiles art Samalander Creations. I'm working on Business cards to give out at conventions and what not. and a logo to make tags for stuff I've been going over material costs as a bunch of the stuff I had still had price tags on them. I took a type of fabric and cut out all I could from it then recorded it down and the price of the fabric, I think I've come up with a reasonable price for them. It's seeming like each monster takes about 12 hours of straight work. Of course I've been splitting that up though out the weeks and in my "spare time" working on them. I'm getting about one done a week so far.

thanks for reading
-Sammy


Saturday, July 7, 2012

Seth Sheermane

This mini is painted in the likeness of one of the Victims from the "Sogrum" campaign that I run. He is a gadgeteer and a feral silver wolf hence the silver hair.


Grognak

One of the other Victims of the "Old Order" campaign is a Orc who has recently been merged with a demon, this mini was painted in his likeness.


Wednesday, October 5, 2011

Making giant mushrooms

Well, looking through a folder on my desktop that is labelled sort me, leads me to come to the conclusion that I have pictures for a tutorial that is still yet to be posted. Oh my, that will not do, So I better get on it...
Here is how to make a inflatable hanging giant mushroom. Like the ones I make for the Mushroom Forest.
things you will need:
-Inflatable beach ball
-Fabric about a meter and a half for the cap depending on size of beach ball
and enough for a long tube stem usually about 4-5ft long by 2ft wide
-Coloured felt for dots
-Fabric glue for the dots
-Velcro about 2ft or so
-String or twine to attach to the ball
-Duct tape
-Amazing goop

-Wire (I use 18g Galvanized steel)
-Fabric paint
Step one
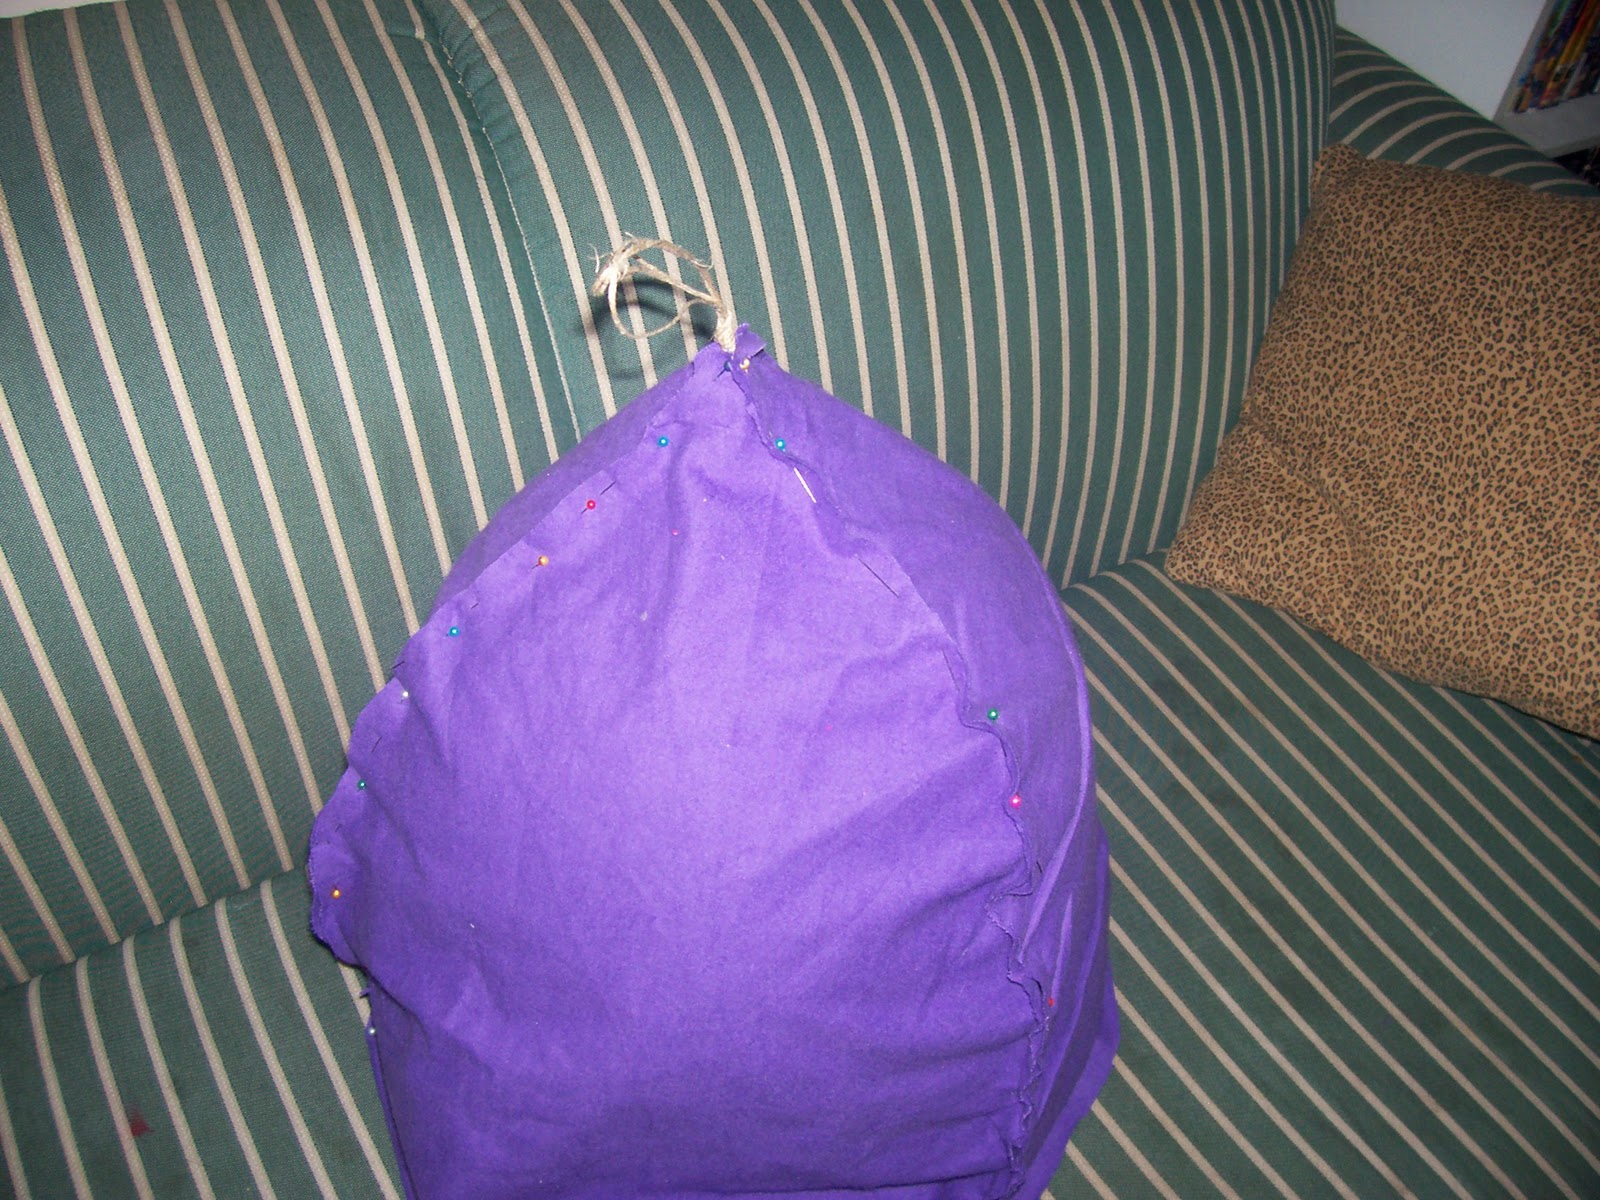
Take 3-4 lengths of the string long enough to go around the beach ball loosely. Fold the strings in half  and tie them off to create a loop. Make a hanging cage for your beach ball using the rope and some tape.
 I like to line up the string to the lines on the beach ball. Make sure to leave enough of a peak at the top to give it a cone shape.
I usually use electrical tape to place where it goes and then duct tape it down.
 make sure to tie off all your strings at the bottom.

Step 2
now we are going to make the cap piece. First we measure our ball around its biggest point. 
then we make a bell/cone shaped pillow case for the ball You can use 2 pieces or 3 pieces to do so you want the top piece to stay open so the string can pop out the top.


 After you have sewn all the pieces together leaving your hole at the top we sew a hem at the bottom leaving a space to feed wire through.
 Take some wire and feed it through the hole.


 Connect your wires at the end. This causes the cap to keep better shape


Step 3
now take your cap and place it down on the pice of fabric you want to use for the under side. make sure the wire is fully sreached out and trace out the bottom
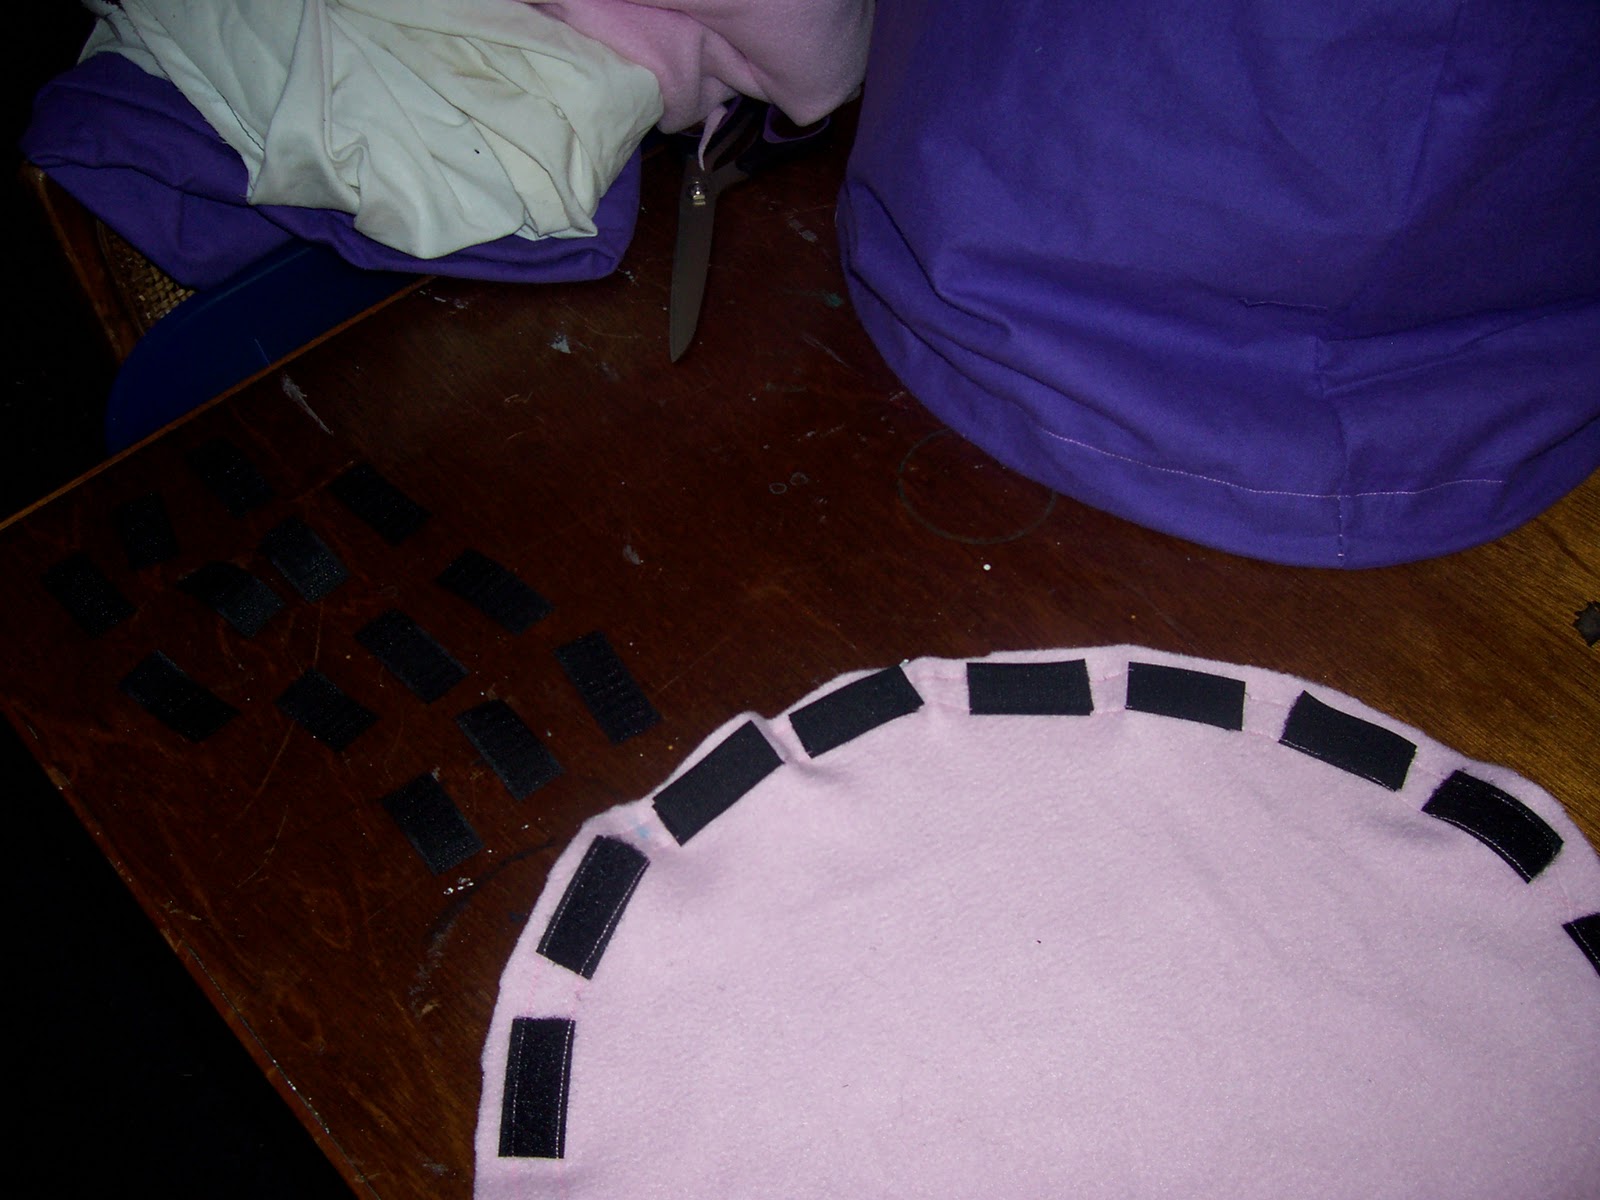
 now we are going to put Velcro around the edge of the bottom fabric and then around the inside edge of the bottom of the cap piece we just made.


 now we have a bottom for the cap. Using fabric paint make the frill lines.

Step 4

 Next we make the stem. By making a long tube that is bigger at one end than the other
once sewn together sew a hem at the bottom for wire, and wire it like you did with the cap piece.

Step 5
 While the fabric paint dries Hang the cap from somewhere that wont get in the way And cut out dots from the coloured felt.

Glue your dots to the fabric in whatever pattern pleases you.

Step 6
 Only do this if your fabric paint is dry.
Measure where the top of your stem is going to sit on the underside. then amazing goop the stem to the underside of the mushroom.
 try to make it so the fabric tube is all the way open when its glued down.
Once that is dry your dots should be dry and you can assemble the mushroom. The cap folds down and the ball deflates and the stem and bottom wrap up nicely for easy storage or transport making them wonderful decorations for interesting parties...
You can make them light up by sewing el wire around them in pleasing patterns.
 I believe I also have another collection of picture of The mushroom forest on display again to post yet so there should be more soon.

Monday, September 19, 2011

Mini Mosa

New Setting, 1300 BC, The Old Order . New Campaign, Help overthrow Ankenaten. New Victim, Mosa-Naledi.  Feral Ring tailed Lemur, from the Khosian nation, Follower of justice, Master Acrobat, Magi.
I have had this mini sitting around in my bits box for a while now it is a Reaper Mini "the voodoo queen". she came with a voodoo mask but Mosa is not actually a voodoo practitioner so she doesn't get to keep the mask. I didn't actually know what I was going to do with the mini but when I saw it I just had to have it. I promptly bought it then put it in the bits box and forgot about it. Now a year or more later, I want to make a mini of Mosa and I remember the voodoo queen. If you compare my drawing of Mosa the mini is a perfect fit.


I am really proud of the way she turned out and I think i might enter her in the single model painting competition at Gottacon next February if they (Dice Bag Games) have the competition again.


RPG minis

Lately I have been building and painting minis for RPG purposes. Especially since I take full use of battle maps when running Battle. Its just easier for me to keep track of things with.
I have some finished ones:
  AWolf-Si female


A Felyine female


A Male Satyr

 And I am working on quite a few others